-
ExploreCategories
Ensure time between calls to the same lead by having visibility on the last time they were contacted by an agent using Aircall

In this guide you will learn 🎓
- How would a Sales Team Utilise the Last Contacted Date Flow?
- How to Configure Visibility on Last Contacted Date for Leads
- Step One: Creating the ‘Last Contacted’ Custom Field
- Step Two: Creating the Flow to Populate the Custom Field
How Would A Sales Team Utilise the Last Contacted Date Flow?
Learn the Lingo is an online language learning platform offering courses in the form of activity based modules and group lessons. Learn the Lingo has an Outbound Sales team doing both B2B and B2C, and each agent is averaging 100+ calls a day off a Lead list view in Salesforce.
Learn the Lingo have a strict 24 hour stand down period between consecutive calls to the same lead. Due to the large volume of calls, the agents do not have time to manually check the last Task object created to verify when the lead was last contacted. In order to prevent agents making multiple calls to the same lead in a short amount of time, they need clear visibility both within the Lead list view and also in the details section of the individual Lead contact page.
Let’s go ahead and see how to achieve this set up!
How to Configure Visibility on the Last Contacted Date of Leads in Salesforce
Step One: Creating the 'Last Contacted' Custom Field
This section requires familiarity with creating custom fields in Salesforce. If you are new to this aspect of Salesforce, please see their guide on Creating Custom Fields
The first step in our set up is creating the custom field that will be named Last Contacted. The value of field will be the date and time that an agent last launched an Aircall call to this specific lead. We will be creating this field within the Lead object, but will be leveraging the Create Date value from the Task object, as the default behaviour of the Aircall x Salesforce integration is to log all calls as a Task.
In your Salesforce Org, navigate to Setup and click on the Object Manager tab (if it doesn’t automatically appear, use the quick find bar). From the Object Manager page, select the Lead object. This will open the details page, and on the left-hand sidebar you will click into Fields and Relationships. Select New and follow the below process for each prompted step:
- Step 1: Data Type=
Date/Time Step 2: Field Label=
Last ContactedField Name=Last ContactedDefault value= leave this space blank.Step 3: Field Level Security. This section is at your discretion over who has edit or read only access rights to this specific field.
Step 4: Page Layouts. This section is at your discretion about which page layouts this field should be visible on.
Click on Save. Your field should now be visible in the fields list. We now move on to setting up our flow to populate this field.
Step Two: Creating the Flow to Populate the Custom Field.
This section requires sufficient familiarity with Salesforce Flows. If you are new to this aspect of Salesforce or have not used their Process Automations before, see their help section Flow Builder
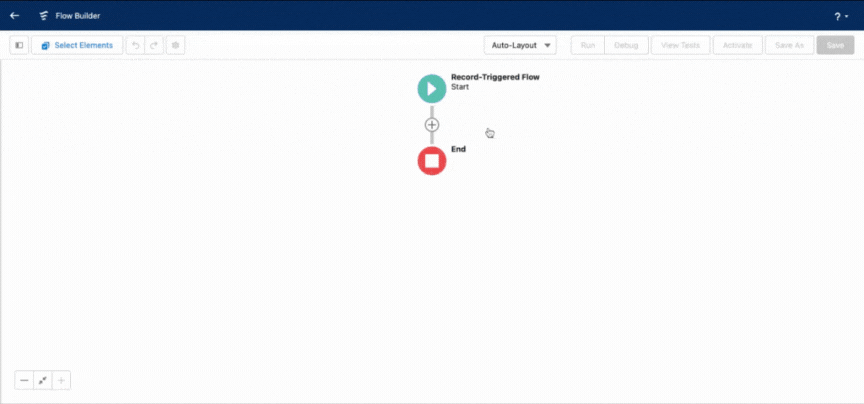
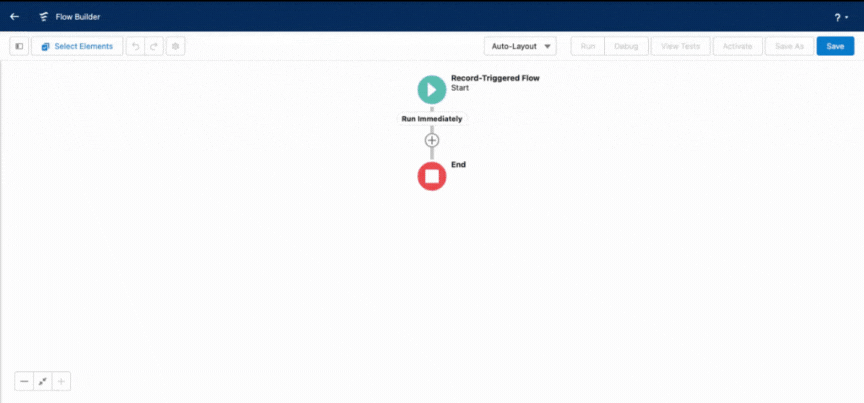
Select Setup → Process Automation → Flows and select New Flow. We are going to be creating a Record-Triggered Flow.
As previously mentioned, we will be leveraging the Created Date from the Task object, specifically for the trigger. Click on the Start box and select the below parameters:
- Object=
Task - Configure Trigger=
A record is created - Condition Requirements=
All Conditions Are Met (AND)- Field=
CallDisposition→ Operator=Contains→ Value=aircall - Field= WhoID → Operator=
Starts With→ Value=00Q
- Field=
- Optimize the flow for:
Actions & Related Records
00Q is the Salesforce prefix for the Lead object
Press Done to return to the flow editing canvas.
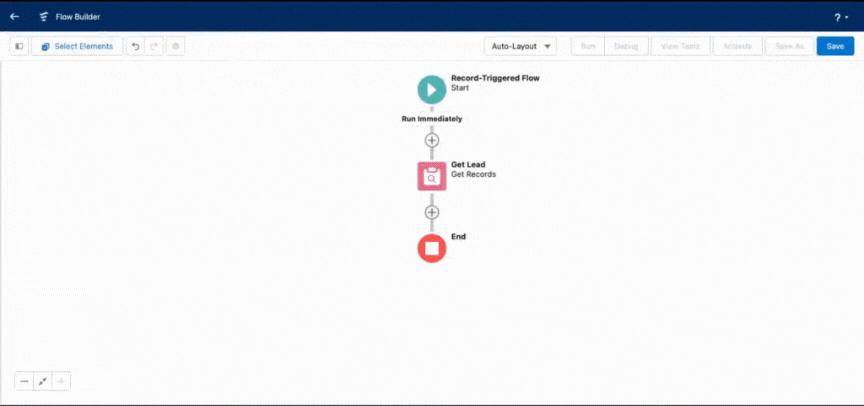
Now that we have set the flow trigger, we move on to setting our actions. The first step we are going to use is the Get Records action, which is used to fetch records in the Salesforce org. In this case, we are using it to get the Lead.
Click on the + button directly under the start box we just configured to bring up the Add Element menu. Search and select ‘Get Records’. Configure the below parameters:
- Label=
Get Lead - Object=
Lead - Filter Lead Records=
All Conditions Are Met (AND)- Field=
ID→ Operator=Equals→ Value={!$Record.WhoId}
- Field=
- Sort Order=
Not Sorted - How Many Records to Store=
Only the first record - How to Store Record Data=
Automatically store all fields
Press Done to return to the flow editing canvas.
Our final action in the flow is going to be the Update Records action. This is where we take the leveraged data from the trigger and populate the last contacted field against the lead we fetched in the Get Records action above.
Click on the + button directly under the Get Lead action we just configured to bring up the Add Element menu. Search and select ‘Update Records’. Configure the below parameters:
- Label=
Update Last Contacted - How to Find Records to Update and Set Their Values=
Specify conditions to identify records, and set fields individually - Object=
Lead - Filter Lead Records=
All Conditions Are Met (AND)- Field=
ID→ Operator=Equals→ Value={!Get_Lead.Id}
- Field=
- Set Field Values for the Lead Records=
- Field=
Last Contacted←{!$Record.CreatedDate}
- Field=
Press Done to return to the flow editing canvas. Click on Save in the top right hand corner of the screen and name your flow something along the lines of ‘Lead Last Contacted’. Be sure to select Activate before exiting the page.
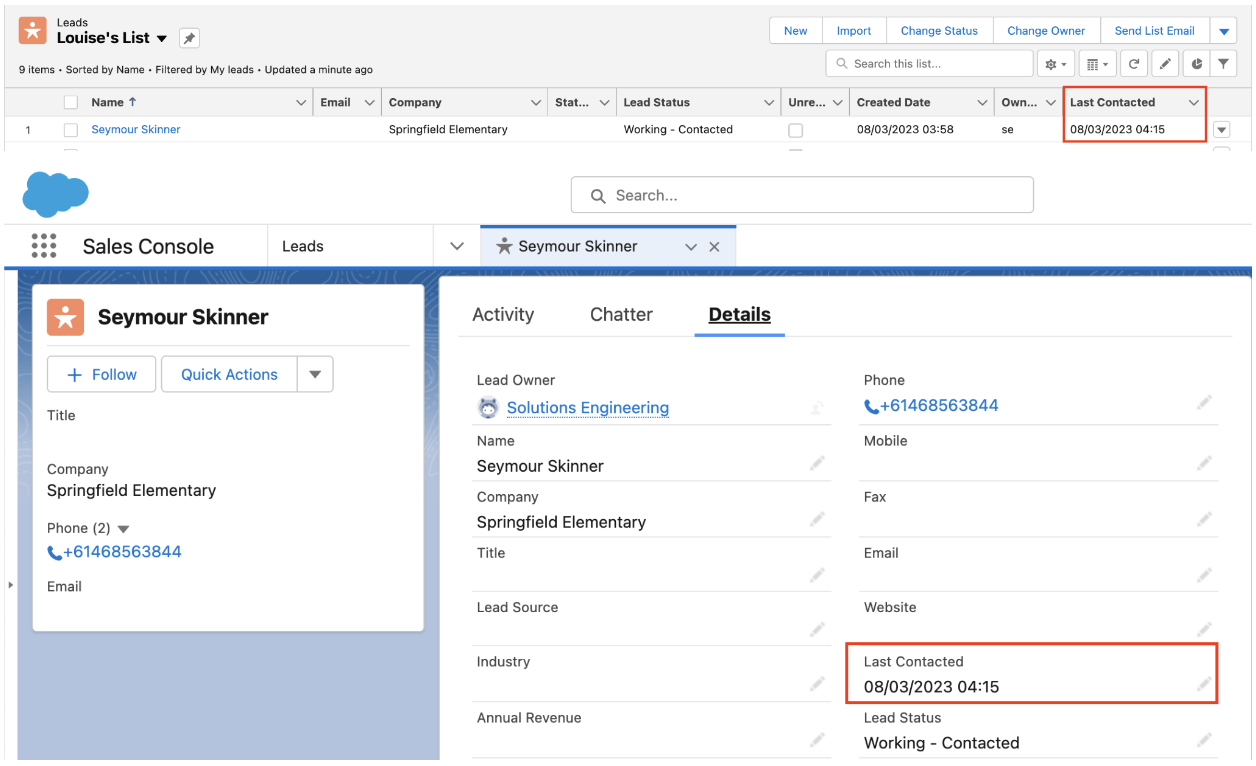
Once you have done that, head over to your Lead list view. Make the field visible to your view by click on the gear icon ⚙️ next to the search bar and choose Select Fields to Display. Add Last Contacted to the visible fields column. The Last Contacted field will also be visible in the Details section of the Lead itself.
Congratulations 🎉 You just completed your Last Contacted flow!
Food for Thought 💡
- This flow is not limited just to the
Leadobject. It can also be used onContactorAccountobjects. - You could build upon this flow by creating another schedule-based flow that automatically notifies the
Leadowners if theLast Contacted Dateexceeds a certain timeframe. - As you are passing the
created.datevalue from theTaskobject to theLast Contacted Datefield on theLeadobject, you could consider also bringing over the Aircall tags which could trigger further automations.
Need Some Extra Help?
If you need an extra hand with implementing this workflow, or you would like to learn more about similar automations to enhance your operations, check out our Professional Services page to book time with our Technical Consultants.